The land of Conda, Anaconda, Miniconda, Astroconda, AfishcalledConda … can be very confusing if you’re just starting out trying to work out what the <enter expletive> each of these service are and which ones you personally need to install. Let’s begin with some definitions that will hopefully help us out later on.
- Package Manager
- A package manager is a tool that automates the process of installing, updating, and removing packages. Think
aptoryum. Here’s what wikipedia has to say:
A package manager or package management system a collection of software tools that automates the process of installing, upgrading, configuring, and removing computer programs for a computer’s operating system in a consistent manner. Wikipedia
- Channel
- a channel is basically a remote repository containing software packages that can be installed by a package manager.
- Distribution
- A software distribution is a pre-built and pre-configured collection of packages that can be installed and used on a system.
- Isolated or Virtual Environments
- a dedicated space for your software project, allowing for it to have its own dependencies, regardless of what dependencies every other project has.
- Software Stack
- A ‘stack’ is a collection of software designed to target the various use-cases of an end-user
What’s the Difference between Conda, Anaconda, Miniconda and Astroconda?
Conda
Conda is both a package manager and an isolated-environment manager. As a package manager it’s designed to build and manage software of any language (i.e. it’s not python specific).
Anaconda & Miniconda
Anaconda is a software distribution, but note that Conda and Python (2.7 or 3.*) are packaged with Anaconda. The distribution also includes the binaries for several hundred python packages, so when you install Anaconda you’re also installing most of all the major scientific python-packages you’ll probably need at some point in the future. This is a real time-saver!
Miniconda is the stripped-down, lightweight version of Anaconda and contains only a Conda root environment with Python (again 2.7 or 3.*).
Astroconda
AstroConda a third-party Conda channel hosting a suite of software provided and maintained by STScI. The channel’s software is compatible with both of the 2 and 3 variants of *Conda and contains two types of their software stack:
- Standard Software Stack (without IRAF)
- Legacy Software Stack (with IRAF)
Note the Legacy Software Stack is the full suite of STScI software and also includes an IRAF/PyRAF environment. Due to the limitations of IRAF it’s only available for Python 2.7.
As an Astronomer, What Should I install?
If you work with Python packages which rely on external dependencies (like NumPy, SciPy, and Matplotlib) I strongly advice installing Anaconda over Miniconda and you probably want to install the Python 2.7 version of Anaconda. Installing the Python 2.7 version means that any isolated Conda environments you create will default to Python 2.7, but this doesn’t stop you creating Python 3.* environments (you just need to remember to request the python version upon creation).
If you work with IRAF, or other tools that require IRAF, then AstroConda is currently the most painless way of installing it (and it’s getting evermore painful!).
Installing Anaconda & Astroconda
Anaconda
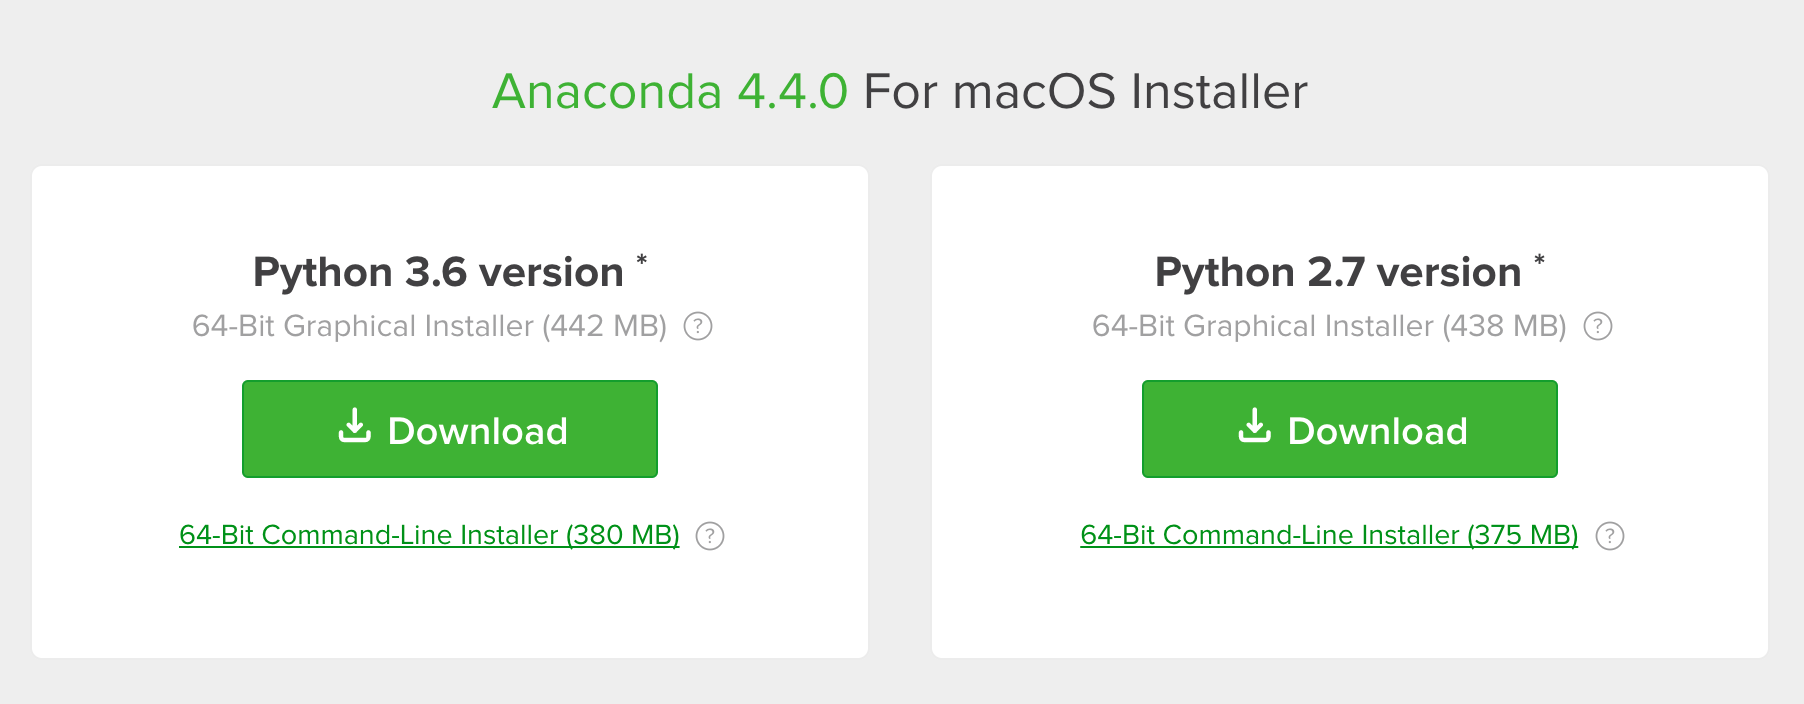
To download the Anaconda installer, head over to the Continuum Analytics website and navigate to the relevant installation guide for your operating system. A link to the graphical installer should be found near the top of the page.

Click to download the Python 2.7 version of Anaconda. The installer download weighs in at about 450MB so may take some time to download if you are on a ropey internet connection. From here on in I’m assuming you’re working with macOS, but the install instructions should be similar with other OS flavours.
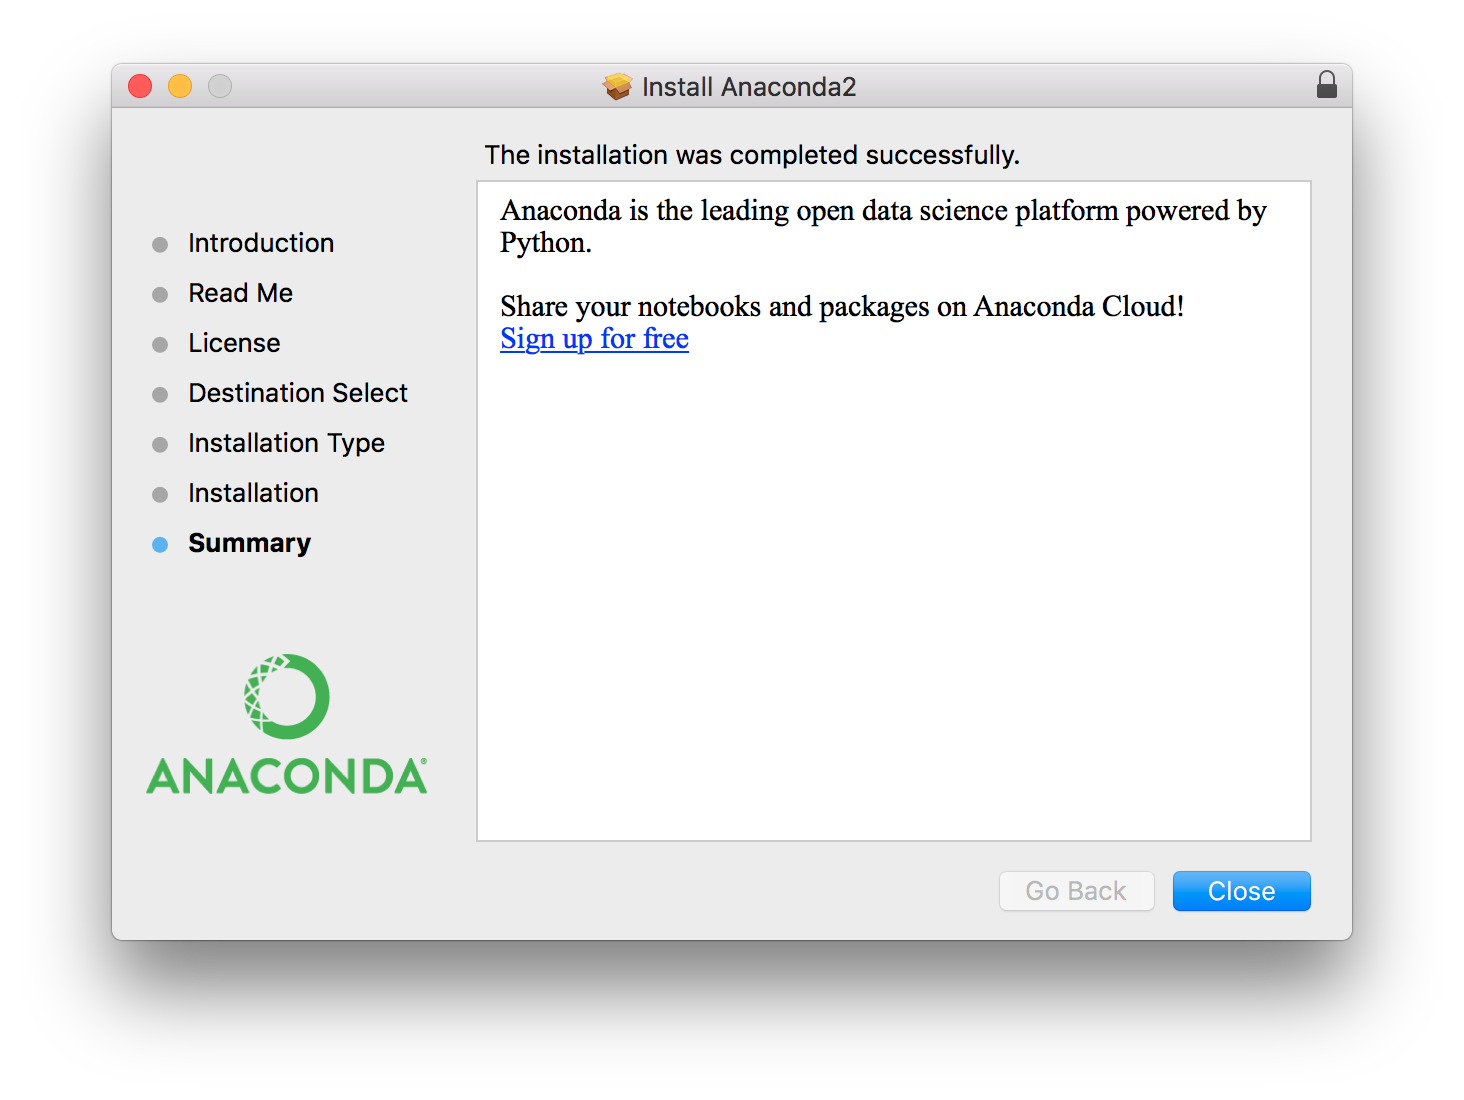
Once download, open the installer package and click through all of the permission and licence agreements alerts and get the installation going. On my mac (running macOS Sierra v10.12.6) the install took 6.5 minutes.

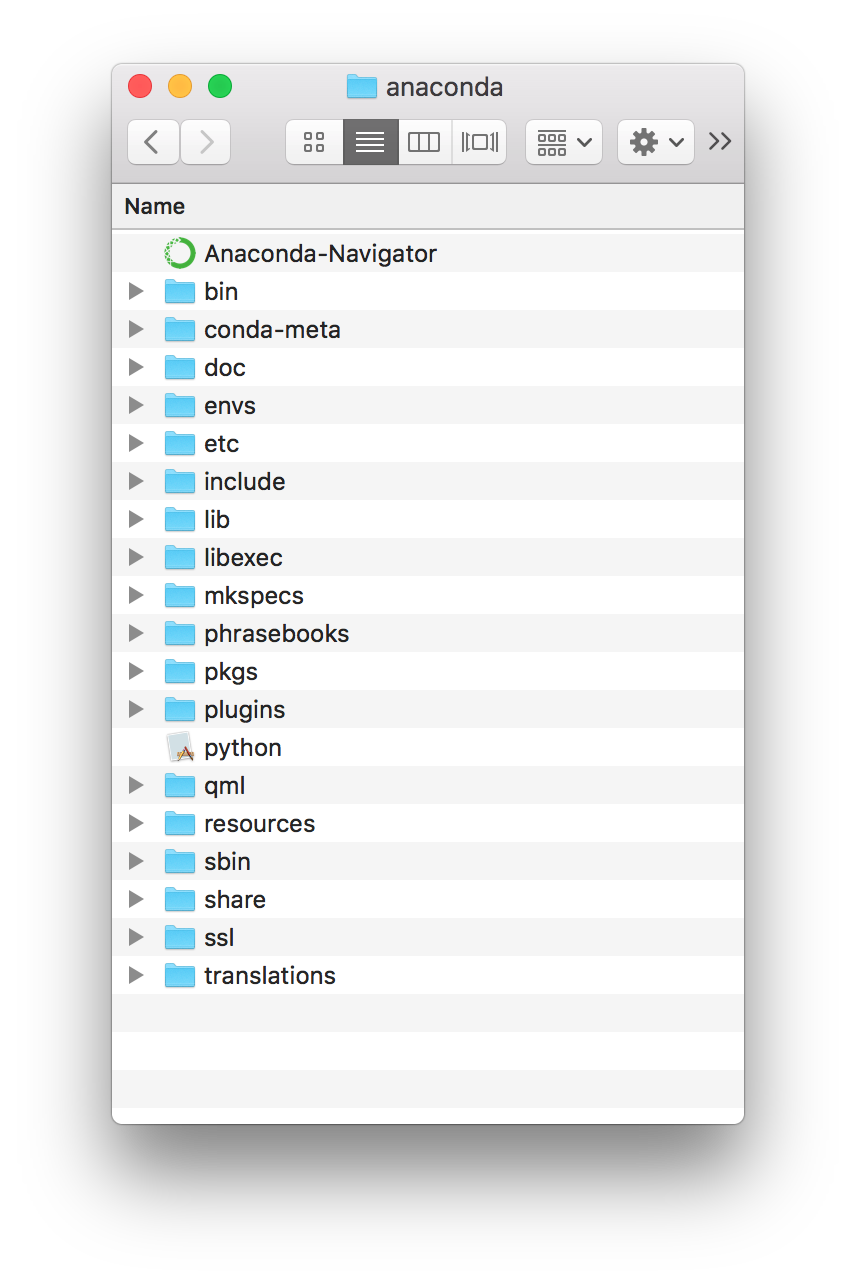
If you choose to install anaconda in the default location you will find it in ~/anaconda with a directory structure looking similar to this:

My total install eats up about 1.5GB on disk.
The install of Anaconda will have edited your ~.bash_profile file to add the Anaconda executables to your path:
export PATH="/Users/Bob/anaconda/bin:$PATH"
Note if Anaconda is sourced in this manor then Anaconda’s python instance will become the ‘default’ python as it will be the first found on your path. I prefer to have my native python install as my default python, and only choosing to use the conda python instance(s) by activating a conda environment. To fix this replace the anaconda added export above with the following alias1:
alias anaconda-init='source /Users/Bob/anaconda/etc/profile.d/conda.sh'
This way you can keep your native python as default, and choose to run the command anaconda-init when you want to switch to anaconda’s python instead.
To verify your conda install and make sure it’s setup correctly in you path run the command:
$ conda --version
conda 4.5.11
GUI vs Command-Line
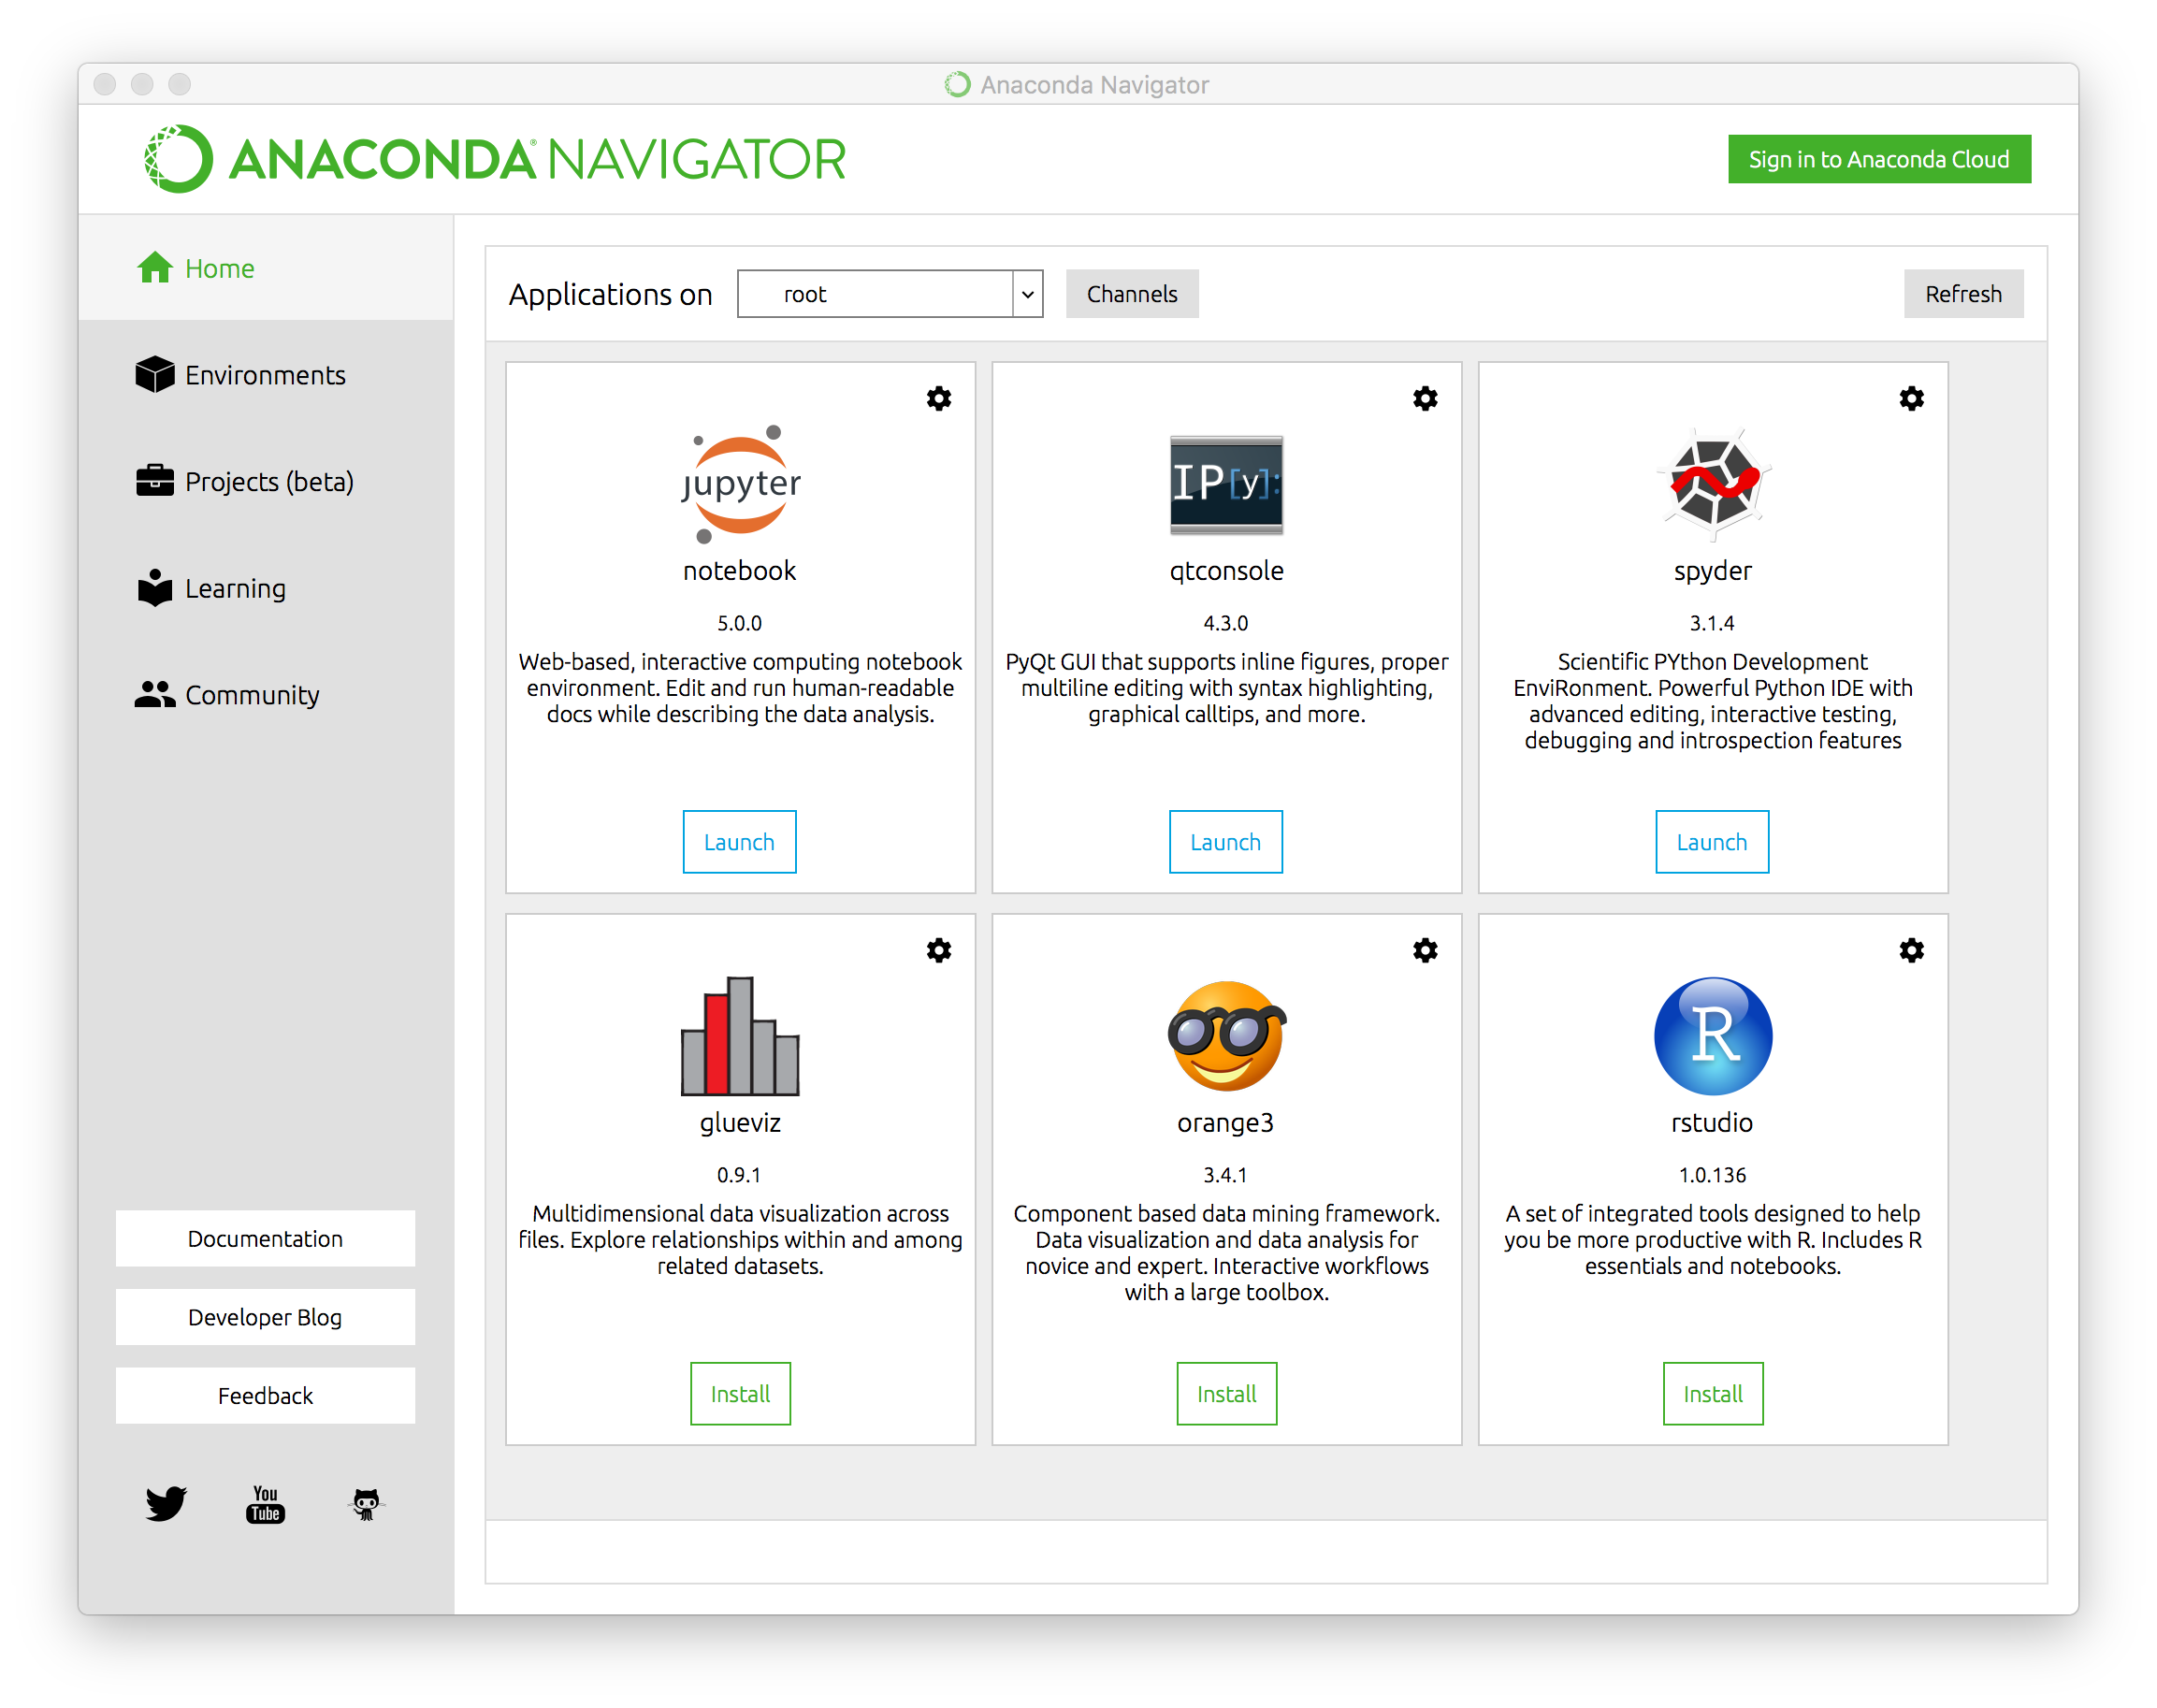
Anaconda comes with a useful application called Anaconda-Navigator that can be launched from Finder or via the terminal with the command:
anaconda-navigator

Within the navigator you can install, uninstall and upgrade packages, manage your conda environments, start a jupyter notebook environment, add and remove channels and a bunch of other tasks. You also get access to some great tutorials and links to various community forums and events.
Although I prefer to use the command-line in most cases, I appreciate the visualisation provided by the Navigator. I can see at a glance which conda packages need updated and what environments I have setup.
From here on in I will show you how to perform tasks via the command-line and leave it to you to work out how to do it via the Navigator if you prefer to do it that way.
Astroconda
Now its time to add the AstroConda channel to Conda2. Open your terminal and run the command:
$ conda config --add channels http://ssb.stsci.edu/astroconda
We can now install the AstroConda software stack found in the AstroConda channel. I’d advice installing IRAF & PyRAF alongside the STScI Python stack inside a dedicated isolated conda environment. You can do so with one command:
conda create -n astroconda python=2.7 iraf-all pyraf-all stsci
Note the python=2.7 is the default if you have installed Astroconda 2, but you will need this option if you want your environment to useje Python 2.7 under an Anaconda 3 install. You will be asked along the way to verify that you wish to install all of the package included in the install. Select Y to confirm. The install of IRAF/PyRAF & the STScI Python stack took about 7 mins on my machine and used up about 3.5GB of space.
Once installed run the following command to activate the astroconda conda environment:
source activate astroconda
To see all of the 250 packages now installed and ready to be used in this environment, run the command:
conda list
Conflicts with Python Virtualenvwrapper
Once I installed Conda I discovered the distinct but identically named deactivate commands called by virtualenvwrapper and conda where clashing with one another. For example:
$ workon breaker
Error: deactivate must be sourced. Run 'source deactivate'
instead of 'deactivate'.
I’ll not give the details here, but this solution worked perfectly for me.
